
You know those evenings when you’ve had a long day, the kids are hungry, and cooking feels like the last thing you want to deal with? Well, a few months ago, that was me—standing in my kitchen at 6 pm, totally drained, with two hungry kids and zero dinner ideas. My husband gently suggested takeout, and before I knew it, my kids were chanting, “Chicken fries! Chicken fries!” from the living room, begging for Burger King again.
Now, don’t get me wrong—I get it. There’s something irresistible about those crispy little sticks of chicken. But as a mom, I couldn’t help feeling guilty about another night of fast food. That night, something clicked. Could I make chicken fries at home that could rival the restaurant version my family loved?
Well, I gave it a shot, shaping chicken into fry-like sticks, seasoning generously, and carefully frying them until golden-brown. I was nervous, convinced they’d be a disaster. But when I brought that first batch to the dinner table, my husband took a bite, his eyes lit up, and my daughter squealed, “Mom, these are even better than Burger King’s!” I nearly cried—partly from relief, partly from sheer pride.
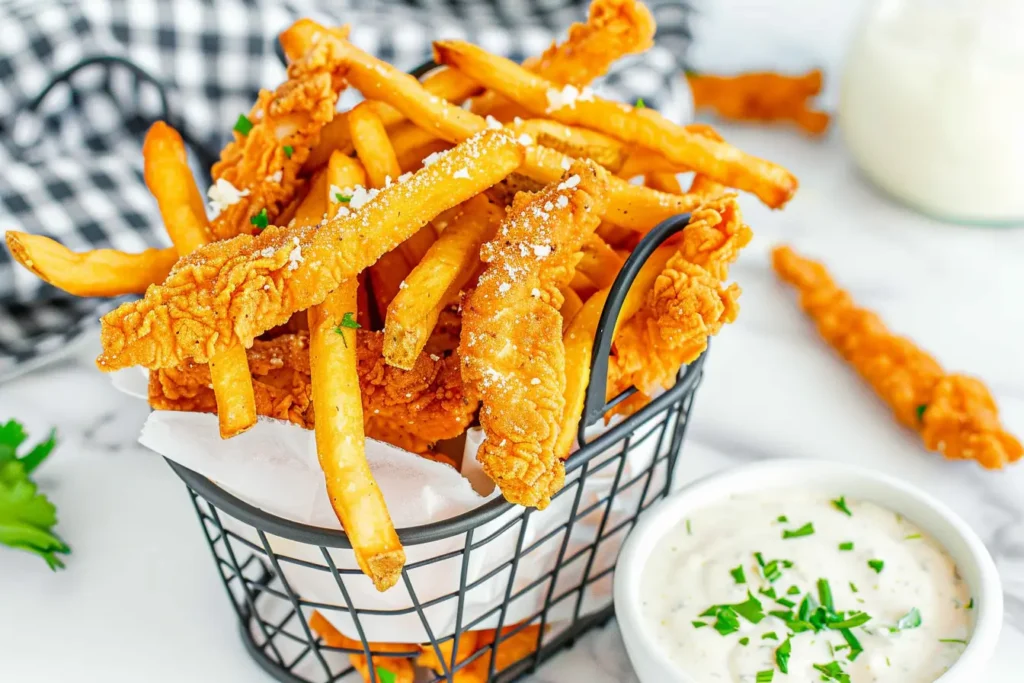
Ever since then, these homemade chicken fries have become a weekly staple at our house. Not just because they’re healthier or budget-friendly, but because they genuinely taste incredible. They’re crispy on the outside, juicy inside, and perfect for dipping into our favorite sauces.
But here’s the thing—getting chicken fries just right isn’t just about following the recipe. It’s about knowing which ingredients and tricks make all the difference. So, before we dive into cooking, let’s talk about what you’ll need to guarantee they’re perfect every time.
Table of Contents
The Secrets to Perfect Homemade Chicken Fries
You might think chicken fries are just another take on chicken nuggets, but there’s actually a bit of science behind getting them just right. If you’ve ever wondered why some homemade versions turn out dry, fall apart in the oil, or just don’t have that crave-worthy crispiness—don’t worry. I’ve been there. The good news? A few simple tricks can make all the difference.
Before we dive into the recipe, let’s talk about why certain ingredients and techniques matter—so you can nail these crispy, golden bites on the first try.
Why Ingredient Selection is Key
Just like a great burger starts with quality beef, the best chicken fries start with the right kind of chicken. While it might be tempting to use whole chicken breast strips, the secret to ultra-tender, flavorful fries is ground chicken.
Best Type of Chicken for Chicken Fries
✔ Ground chicken with a bit of fat – This keeps the fries juicy and prevents them from drying out. Avoid extra-lean ground chicken, which can turn rubbery.
✔ Homemade ground chicken – If you can’t find ground chicken at the store, you can pulse boneless, skinless chicken thighs in a food processor for a fresher, more flavorful alternative.
✔ Avoid pre-seasoned ground chicken – Some brands add extra water or binding agents that can affect texture.
Breadcrumbs & Breading: The Secret to the Perfect Crunch
Not all breadcrumbs are created equal. To get those crispy, golden fries, choosing the right coating is key:
✔ Panko breadcrumbs – These create a light, airy crispness similar to restaurant-style chicken fries.
✔ Cornstarch base – Lightly coating the chicken in cornstarch before breading helps the egg and panko stick, giving an even crispier bite.
✔ Seasoned breading – A mix of paprika, garlic powder, onion powder, and salt adds deep flavor to every bite.
Why Freezing Before Cooking is a Game-Changer
One step you don’t want to skip? Freezing the shaped chicken fries for 20-30 minutes before breading and frying.
✔ Keeps their shape – Prevents the fries from falling apart in the oil or air fryer.
✔ Improves texture – Helps the breading stick better and results in a crispier finish.
✔ Evens out cooking – Cold chicken fries cook more evenly, reducing the risk of dry spots.
If you’re short on time, even 10 minutes in the freezer helps, but for the best results, don’t skip this step!
Cooking Method Matters: Frying vs. Air Frying
Now, here’s the big question: Should you fry or air-fry your chicken fries? Both methods work, but they each offer different results:
Classic Deep Frying
✔ Pros: Super crispy, golden brown, and restaurant-quality texture.
✔ Cons: Uses more oil, slightly messier cleanup.
🔹 Pro Tip: Use neutral oils like canola, vegetable, or peanut oil and keep the temperature at 325°F (163°C) for the crispiest fries without burning the breading.
Air Frying (Healthier Alternative)
✔ Pros: Uses minimal oil, still crispy, and easier cleanup.
✔ Cons: Slightly different texture—less deep-fried crunch but still delicious.
🔹 Pro Tip: Spray the breaded fries lightly with oil before air frying at 375°F (190°C) for 10-12 minutes, flipping halfway through.
No matter which method you choose, the goal is the same: crispy on the outside, tender and juicy on the inside.
Now that you know the ingredients, tricks, and best cooking methods, it’s time to get started. Let’s go over everything you need before we begin—so you can make sure your kitchen is prepped for success.
Pre-Cooking Guide – Setting Yourself Up for Success
You know that feeling when you’re halfway through a recipe, only to realize you’re missing a key ingredient or tool? I’ve been there—and trust me, nothing throws off the joy of cooking faster than scrambling for substitutions mid-recipe.
Before we jump into making homemade chicken fries, let’s take a few minutes to set up properly. With the right tools, ingredients prepped, and a few key mistakes avoided, you’ll be well on your way to crispy, golden perfection without the stress.
Essential Tools & Equipment
While chicken fries don’t require fancy equipment, having the right tools will make the process easier, faster, and mess-free.
✔ Mixing Bowls – One for seasoning the chicken mixture and another for the breading station.
✔ Parchment-Lined Baking Sheet – Essential for shaping and freezing the fries before breading.
✔ Shallow Plates or Bowls – Three needed for the breading process (cornstarch, eggs, and panko).
✔ Sharp Knife & Cutting Board – If making homemade ground chicken from whole cuts.
✔ Deep Frying Pan or Air Fryer – Depending on your preferred cooking method.
✔ Tongs or Slotted Spoon – For safely flipping or removing chicken fries from hot oil.
What if you don’t have a deep fryer?
No problem! A regular frying pan with 1-2 inches of oil works just as well. For a healthier alternative, an air fryer will give you crispy results with a fraction of the oil.
Prepping Ingredients Like a Pro
A little preparation goes a long way in ensuring your chicken fries come out crispy and flavorful.
1️⃣ Get Your Chicken Mixture Ready
- If using ground chicken, mix it with seasonings ahead of time for deeper flavor.
- If making homemade ground chicken, pulse boneless, skinless chicken thighs in a food processor for the juiciest texture.
- Avoid overmixing—this keeps the fries tender rather than dense and dry.
2️⃣ Chill the Chicken Fries Before Breading
- Once shaped, place them on a parchment-lined tray and freeze for 20-30 minutes before breading.
- This helps firm them up, making them easier to coat and fry without breaking apart.
3️⃣ Set Up a Breading Station for Efficiency
Arrange three separate bowls for:
✔ Cornstarch – Creates a dry base that helps the egg coating stick.
✔ Whisked Eggs – The glue that binds the breadcrumbs.
✔ Panko Breadcrumbs + Seasonings – Adds that ultra-crispy exterior.
🔹 Pro Tip: Keep one hand for wet ingredients and the other for dry to prevent a sticky mess!
Common Mistakes to Avoid
Even a simple recipe like chicken fries can have its pitfalls. Here’s how to avoid common mistakes and ensure crispy, golden perfection every time:
❌ Using the Wrong Chicken → Stick to ground chicken with some fat content to keep fries juicy. Avoid extra-lean ground chicken, which can turn rubbery.
❌ Skipping the Freezing Step → If you don’t chill before breading, the fries may fall apart while cooking.
❌ Not Pressing the Breading Firmly → Lightly press the breadcrumbs onto the fries to ensure they stick—this prevents patchy coating.
❌ Frying at the Wrong Temperature → Keep the oil at 325°F (163°C) for deep frying. If it’s too hot, the outside burns before the inside is cooked; too low, and they absorb excess oil.
❌ Overcrowding the Pan or Air Fryer → This leads to uneven cooking. Cook in batches for the crispiest results.
Now that your kitchen is set up, your ingredients are prepped, and you know what not to do, it’s time to start cooking!
Step-by-Step Recipe Guide – Cooking Crispy, Golden Chicken Fries to Perfection
Now that everything is prepped and ready, it’s time to bring these crispy homemade chicken fries to life! Follow these steps carefully, and in no time, you’ll have a batch of golden-brown, perfctly seasoned chicken fries that will have your family asking for seconds.
Whether you’re frying for extra crunch or using an air fryer for a lighter version, this guide will walk you through each step to guarantee crispy, juicy, and flavorful results.
Step 1: Shape & Chill the Chicken Fries
🔹 Why This Step Matters:
Shaping and chilling helps the chicken fries hold their form during breading and cooking, preventing them from falling apart.
1️⃣ Take about 2 tablespoons of ground chicken mixture and roll it into a fry-like shape (about 4-5 inches long and ½ inch thick).
2️⃣ Place each formed fry onto a parchment-lined baking sheet to prevent sticking.
3️⃣ Once all fries are shaped, freeze for 20-30 minutes—this firms them up, making them easier to bread and cook.
⏳ Shortcut Tip: If you’re short on time, at least 10 minutes in the freezer will help.
Step 2: Set Up the Breading Station
🔹 Why This Step Matters:
A proper breading sequence creates the ultimate crispy coating that locks in moisture and crunch.
1️⃣ Grab three shallow bowls:
- Bowl 1: ¼ cup cornstarch + ¼ teaspoon salt
- Bowl 2: 2 large eggs, whisked
- Bowl 3: 1½ cups panko breadcrumbs + ½ teaspoon paprika + ½ teaspoon garlic powder
2️⃣ Work one fry at a time, coating it in:
- Cornstarch (shake off excess)
- Egg wash (fully coat, let excess drip off)
- Panko mixture (press gently so the coating sticks well)
🔹 Pro Tip: Use one hand for wet ingredients (egg wash) and the other for dry ingredients (cornstarch + panko) to avoid sticky fingers.
Step 3: Cook to Crispy Perfection
🔹 Choose Your Cooking Method:
Chicken fries can be deep-fried for extra crunch or air-fried for a healthier version—both methods are delicious!
Option 1: Deep Frying (Golden & Extra Crispy)
✔ Heat 2-3 cups of vegetable oil in a pan to 325°F (163°C).
✔ Carefully add the breaded chicken fries, frying in small batches (don’t overcrowd the pan!).
✔ Fry for 2-3 minutes per side, flipping once, until golden brown and cooked through (internal temp: 165°F / 74°C).
✔ Remove and place on a paper towel-lined plate to drain excess oil.
🔹 Pro Tip: Keep the oil temperature consistent for even frying—too hot, and the outside burns before the inside cooks; too cold, and they’ll absorb too much oil.
Option 2: Air Frying (Lighter, Less Oil)
✔ Preheat air fryer to 375°F (190°C).
✔ Lightly spray the breaded chicken fries with oil for extra crispiness.
✔ Arrange in a single layer (no overlapping!).
✔ Air fry for 10-12 minutes, flipping halfway, until golden brown and crispy.
🔹 Pro Tip: If using an air fryer, a quick spray of oil helps create that deep-fried texture without all the oil!
Step 4: Serve & Enjoy!
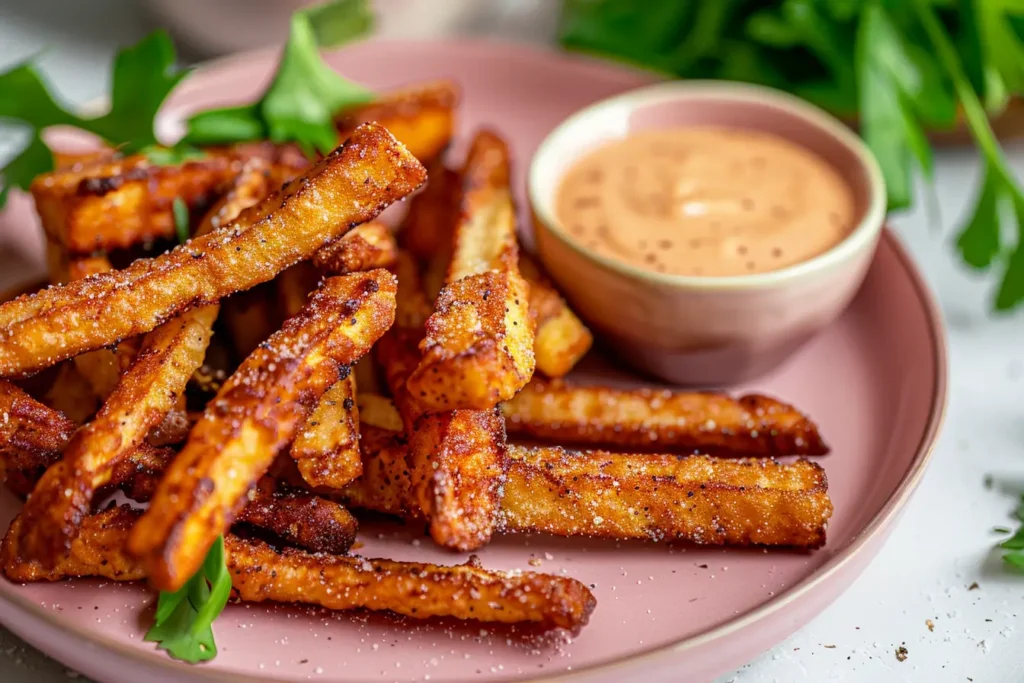
🔹 Dipping Sauce Ideas:
No chicken fries are complete without a great dip! Here are some of the best pairings:
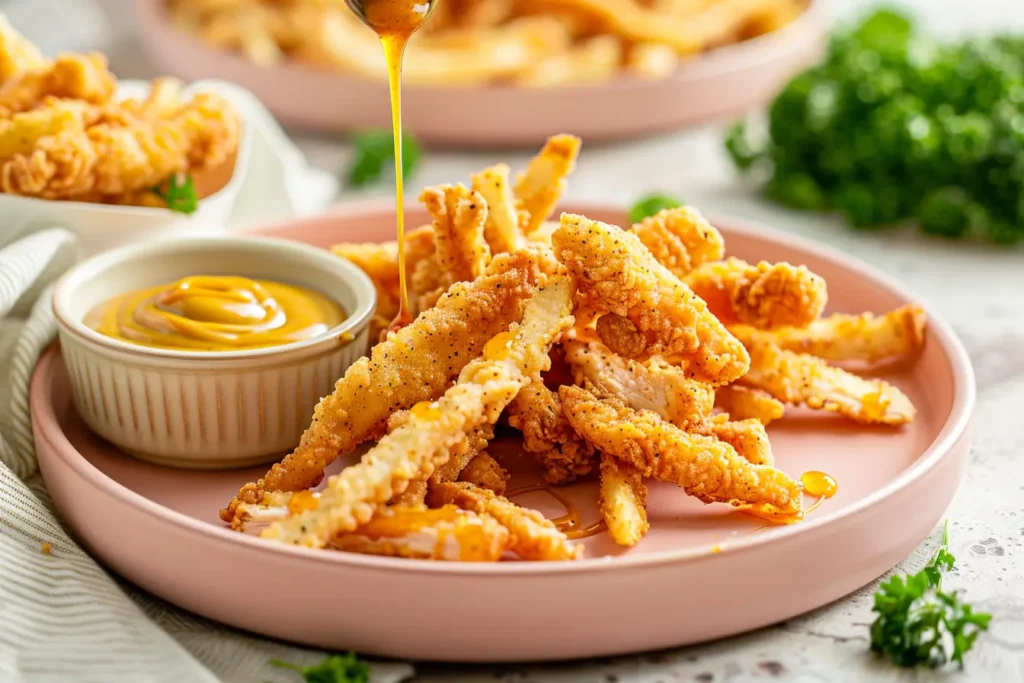
✔ Honey Mustard – Classic, sweet, and tangy.
✔ Garlic Ranch – Creamy with a punch of garlic.
✔ Spicy Mayo – A little heat for those who love a kick!
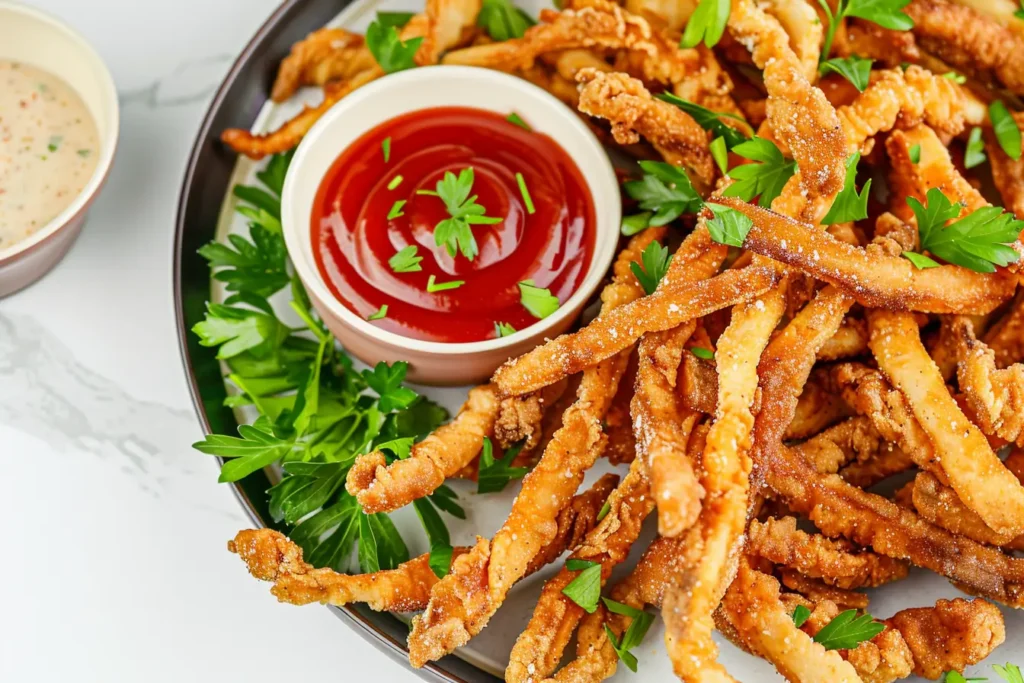
✔ BBQ Sauce – Smoky and slightly sweet.
🔹 Serving Suggestions:
Chicken fries are great as a snack, party food, or even a fun dinner option! Pair them with:
✔ Fries or Sweet Potato Wedges
✔ A Fresh Side Salad
✔ Mac & Cheese for a Comforting Meal
Additional Tips, Variations & Enhancements
Now that you’ve mastered making crispy homemade chicken fries, let’s talk about how to make them even better! Whether you want to store leftovers properly, try fun serving variations, or find the perfect dipping sauce, these extra tips will help you get the most out of your chicken fries experience.
Perfect Pairings & Side Dishes
Chicken fries are already a delicious snack, but pairing them with the right sides and dips can elevate them to a full meal!
✔ Classic Pairings:
- Serve alongside crispy french fries or sweet potato wedges for a fun take on “fries & fries.”
- Add a fresh coleslaw or cucumber salad for an light contrast.
✔ Healthy Options:
- Swap regular fries for a side of steamed veggies or a quinoa salad to balance the meal.
- Try baking or air-frying the chicken fries for a lighter version.
✔ Best Dipping Sauces:
- Honey Mustard – A perfect balance of sweet and tangy.
- Spicy Mayo – A creamy dip with a little heat.
- Garlic Ranch – A cool, herby contrast to the crispy fries.
- BBQ Sauce – A smoky, slightly sweet dip that complements the crispy coating.
🔹 Want to try a new twist? Serve chicken fries in a wrap with lettuce and sauce for a fun chicken fry taco!
How to Store & Reheat Chicken Fries
If you have leftovers (which might not happen often!), here’s how to keep them fresh and crispy for later.
✔ Refrigerating Leftovers:
- Store in an airtight container in the fridge for up to 3 days.
- Keep them separated with parchment paper to prevent sogginess.
✔ Freezing for Later:
- Arrange fully cooked chicken fries in a single layer on a baking sheet and freeze for 30 minutes before transferring them to a ziplock bag.
- They’ll stay fresh for up to 2 months in the freezer.
✔ Best Reheating Methods:
- Oven: Preheat to 375°F (190°C) and bake for 10 minutes to restore crispiness.
- Air Fryer: Heat at 350°F (175°C) for 5-7 minutes until golden and crispy.
- Stovetop: Pan-fry over medium heat for 2-3 minutes per side.
- Microwave (Not Recommended!): Can make them soggy, but if you must, use short intervals with a damp paper towel.
🔹 Pro Tip: Always reheat without a lid to avoid trapping steam, which makes the fries soft.
Creative Serving Ideas
Who says you have to eat chicken fries the traditional way? Here is some fun variations to try:
✔ Chicken Fry Poutine: Top chicken fries with melted cheese and gravy for a fun twist on a classic Canadian dish.
✔ Chicken Fry Sliders: Use them as a crunchy filling inside a soft slider bun with lettuce and sauce.
✔ Buffalo-Style Chicken Fries: Toss in buffalo sauce and serve with blue cheese dressing for a spicy kick.
✔ Chicken Fry Salad: Chop them up and sprinkle over a Caesar or ranch salad for added crunch.
🔹 Hosting a party? Serve chicken fries on a platter with a variety of dipping sauces—your guests will love the mix-and-match experience!
✔ Looking for another fun chicken recipe? Try this Chicken and Shrimp Recipe for a flavorful seafood twist!
✔ For more crispy goodness, check out this Crispy Fries Chicken Recipe on AllRecipes for another delicious variation.
Now that you know how to store, reheat, and customize your chicken fries, let’s finish up with some frequently asked questions to ensure you get perfect results every time!
FAQ & Recipe Schema
Q1: How can I make sure my chicken fries stay crispy after cooking?
To keep your chicken fries crispy, make sure to avoid overcrowding the frying pan or air fryer, as this leads to sogginess. For leftovers, reheat them in an oven or air fryer at a high temperature (375°F) to restore the crunch.
Q2: Can I freeze the chicken fries before cooking them?
Absolutely! After shaping the chicken fries, freeze them for 20-30 minutes before breading. This helps the fries hold their shape while frying or air frying. You can even freeze the breaded fries for later—just make sure to store them in an airtight container or freezer bag.
Q3: What kind of chicken is best for chicken fries?
The best type of chicken for chicken fries is ground chicken with a bit of fat. This helps keep the fries juicy. You can also use homemade ground chicken by blending boneless, skinless chicken thighs in a food processor for the juiciest result.
Q4: Can I make these chicken fries gluten-free?
Yes! To make gluten-free chicken fries, simply swap out the regular breadcrumbs for gluten-free panko. You can also use a gluten-free flour or cornstarch for coating.
Q5: How do I prevent my chicken fries from falling apart?
To prevent chicken fries from falling apart, freeze them before cooking and be gentle when breading. Ensure that the oil is at the correct temperature (325°F) and avoid overcrowding the pan.
Q6: What’s the best way to serve chicken fries?
Chicken fries are perfect with dipping sauces like honey mustard, garlic ranch, or spicy mayo. They also pair wonderfully with a side salad, fries, or even inside a wrap for a fun twist on a meal.
Looking for more delicious recipes? If you love hearty meals, check out our Main Dishes collection—perfect for family dinners or special occasions. Or, if you’re craving something sweet, browse our Snacks, Desserts & Bites section for tasty treats. There’s always something new and exciting to cook!
Print
Chicken Fries Recipe
- Total Time: 25-30 minutes
- Yield: 4 servings 1x
Description
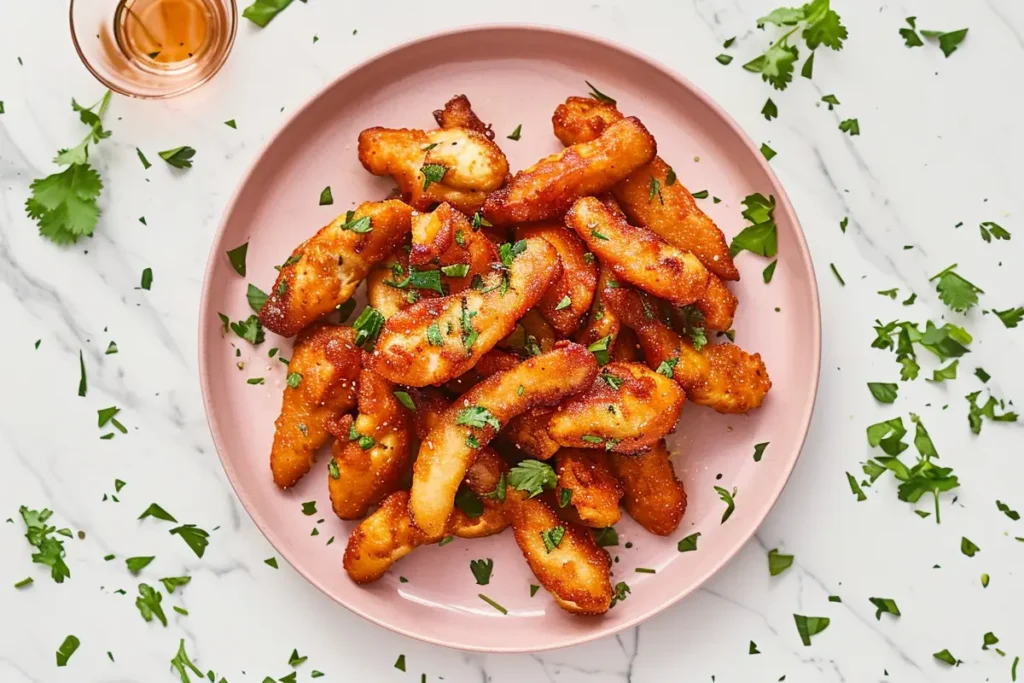
These homemade chicken fries are crispy on the outside and juicy on the inside—perfect for dipping or serving as a fun family dinner.
Ingredients
- 1 lb ground chicken
- ½ teaspoon onion powder
- ½ teaspoon garlic powder
- 1 tablespoon olive oil
- 2 eggs, whisked
- ⅓ cup cornstarch
- ¼ teaspoon salt
- ¼ teaspoon paprika
- ¼ teaspoon black pepper
- 1.5 cups panko breadcrumbs
- Vegetable oil for frying
Instructions
- Mix ground chicken with onion powder, garlic powder, salt, and olive oil.
- Shape chicken mixture into fry-like pieces and freeze for 20-30 minutes.
- Prepare breading station: mix cornstarch, whisked eggs, and panko breadcrumbs.
- Dredge each chicken piece in cornstarch, egg wash, and panko breadcrumbs.
- Fry in hot oil at 325°F for 2-3 minutes per side until golden and crispy.
Notes
For air-fried chicken fries, preheat the air fryer to 375°F and cook for 10-12 minutes, flipping halfway.
- Prep Time: 15 minutes
- Cook Time: 10 minutes (frying) or 12 minutes (air frying)
- Cuisine: American
Nutrition
- Serving Size: 4-5 chicken fries
- Calories: ~250 calories per serving
- Sugar: ~1g
- Fat: ~12g
- Carbohydrates: ~16g
- Fiber: ~1g
- Protein: ~22g
- Cholesterol: ~65mg