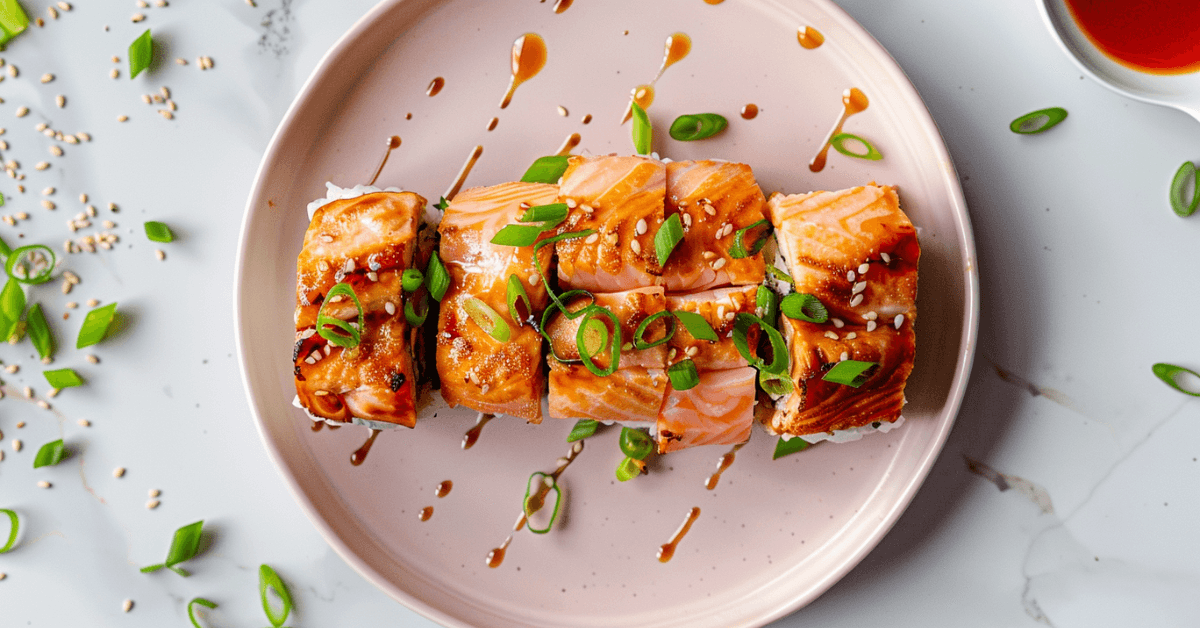
A Dish That Brings Everyone Together
Five years ago, if someone had told me I’d be making sushi in a casserole dish, I would have laughed. Sushi, to me, was a delicate art—something I only ordered at restaurants, expertly crafted by a sushi chef. But one night, everything changed.
It all started with a craving—the kind you can’t shake. I wasn’t just craving sushi; I wanted that perfect bite of a spicy salmon roll—the creamy, slightly spicy kick, the warmth of seasoned rice, and the briny crunch of nori. But let’s be real: with two kids running wild and my husband asking, “What’s for dinner?” there was no way I was rolling sushi one piece at a time.
That’s when I found the perfect shortcut—Salmon Sushi Bake.
The first time I made it, I was skeptical. How could something so easy—just layers of fluffy rice, tender salmon, and a rich, creamy topping—deliver the same satisfaction as my favorite sushi rolls?
But the moment I scooped out a bite, wrapped it in a crisp piece of nori, and tasted that perfect balance of flavors, I was hooked. And so was my family.
Now, this dish has become a staple in our home. It’s the recipe I turn to when I want something comforting but special, effortless yet impressive.
Whether it’s a cozy weeknight dinner or a gathering with friends, this Salmon Sushi Bake always brings everyone to the table.
But the secret to making it just right? It all starts with the ingredients. Let’s dive into what you’ll need to create this irresistible dish.
Table of Contents
What Makes Salmon Sushi Bake So Irresistible?
A Deconstructed Sushi Experience
Sushi is often thought of as an intricate art form—delicate rolls, precise knife work, and the patience of a sushi chef.
But Salmon Sushi Bake takes those flavors and simplifies the process, transforming sushi into a warm, comforting dish that anyone can make at home.
No wonder this dish took the internet by storm—it’s packed with bold flavors, incredibly satisfying, and ridiculously easy to make.
Whether you’re hosting a dinner party or just craving something special for a weeknight meal, Salmon Sushi Bake brings the flavors of sushi to your table with a fraction of the effort.
The Secret to Perfectly Balanced Flavors
What makes Salmon Sushi Bake truly irresistible is the way its flavors come together in perfect harmony.
Every bite delivers a balance of creamy, savory, spicy, and slightly sweet notes, thanks to these key components:
- Salmon – The star ingredient, delivering a rich, buttery texture that pairs beautifully with the other flavors.
- Sushi Rice – Seasoned with rice vinegar, sugar, and salt, giving it that signature tangy taste.
- Furikake – A blend of sesame seeds, seaweed, and seasonings that adds depth and a little crunch.
- Spicy Mayo & Cream Cheese – The ultimate combination for a creamy, indulgent topping with just the right amount of heat.
- Nori (Seaweed Sheets) – Optional but highly recommended! They add a crisp, slightly briny contrast to the warm, flavorful bake.
How This Dish Differs from Traditional Sushi
So how is this different from regular sushi? Well, instead of fresh, raw fish and delicate knife work, this is all about comfort, warmth, and easy layering. Here’s how they compare:
| Feature | Traditional Sushi | Salmon Sushi Bake |
|---|---|---|
| Texture | Fresh, firm, and delicate | Warm, creamy, and slightly crispy |
| Preparation | Requires rolling and precision | Layered in a baking dish |
| Fish Used | Usually raw | Cooked salmon |
| Serving Style | Bite-sized sushi rolls | Scooped and wrapped in nori |
The best part? You get all the sushi flavors you love—without the hassle of rolling. It’s a fun, fuss-free way to enjoy sushi flavors at home!
Why It Became a Viral Trend
Salmon Sushi Bake exploded in popularity during a time when home cooking became the norm and people were looking for creative ways to bring restaurant-style meals to their own kitchens. What made it stand out?
✔ Big flavor, little effort – Just a few steps and it’s ready.
✔ Easy to customize – Swap out ingredients to fit your diet.
✔ Great for sharing – Perfect for family dinners or potlucks.
Its popularity isn’t fading anytime soon, and once you try it, you’ll understand why. Now, let’s get into the key ingredients you’ll need to make your own perfect Salmon Sushi Bake.
Preparing for the Perfect Salmon Sushi Bake
Essential Tools & Equipment for Success
Before we dive into assembling this delicious Salmon Sushi Bake, let’s talk about the tools you’ll need. While this recipe is simple, having the right kitchen essentials makes a big difference in achieving the perfect texture and flavor.
✔ Rice Cooker or Pot with Lid – Perfectly cooked sushi rice is the foundation of this dish. A rice cooker makes it foolproof, but if you don’t have one, a pot with a tight-fitting lid will work just as well.
✔ Baking Dish (9×9 or Similar) – This recipe is best baked in a square or rectangular dish to ensure even layering and cooking. A glass or ceramic dish helps retain heat while baking.
✔ Mixing Bowls – You’ll need at least two: one for mixing the salmon filling and another for seasoning the rice.
✔ Spatula or Rice Paddle – A flat spatula or traditional rice paddle is great for spreading the rice evenly without mashing it.
✔ Sharp Knife – If you’re using fresh salmon, a sharp knife helps with clean cuts and even texture.
💡 Tip: Want a little extra crunch? Try air-frying the salmon before mixing it in. You can check out this Frozen Salmon in Air Fryer Guide to learn the best way to prepare salmon quickly and easily.
How to Prepare Ingredients Like a Pro
One of the best things about this recipe is that it comes together quickly, but a little preparation goes a long way in ensuring smooth cooking.
1️⃣ Prepping the Salmon
✔ If using fresh salmon, remove the skin and dice it into small chunks. Smaller pieces blend better with the sauce and bake evenly.
✔ If using cooked salmon, flake it with a fork before mixing it with the creamy seasoning.
✔ If using frozen salmon, make sure it’s fully thawed before cooking for the best texture.
2️⃣ Cooking & Seasoning the Sushi Rice
✔ Rinse the sushi rice at least three times until the water runs clear. This removes excess starch and prevents the rice from becoming gummy.
✔ Cook the rice in a 1:1.5 ratio of rice to water for perfectly fluffy grains.
✔ Once cooked, gently mix in rice vinegar, sugar, and salt while the rice is still warm—this gives it that signature sushi flavor!
💡 Time-Saving Tip: Cook the rice in advance! You can prepare it a few hours before and store it at room temperature, covered with a damp towel to keep it soft.
3️⃣ Prepping the Spicy Salmon Mixture
✔ In a bowl, mix flaked salmon, spicy mayo, cream cheese, and seasonings.
✔ For extra umami, add a teaspoon of soy sauce or coconut aminos to the mix.
✔ Adjust the spice level with sriracha or chili flakes based on your preference.
Full Step-by-Step Recipe Guide
Now that everything is prepped and ready, it’s time to bring this Salmon Sushi Bake to life! This step-by-step guide will walk you through each stage, from assembling the layers to baking it to perfection. Follow along, and soon you’ll have a warm, creamy, and absolutely irresistible dish to serve.
Step 1: Preparing the Sushi Rice
First, cook the rice—it’s the base of the whole dish. If you have a rice cooker, just rinse the rice until the water runs clear, add the right amount of water, and let it do its thing. No rice cooker? No problem. Just bring the rice and water to a boil, then lower the heat, cover, and let it simmer until it’s perfectly fluffy.
While the rice is still warm, mix in the rice vinegar, sugar, and salt. This step gives it that signature sushi flavor.
Step 2: Preparing the Salmon Mixture
While the rice is cooling slightly, work on the salmon. If you’re using fresh salmon, bake it in the oven at 375°F (190°C) for about 12-15 minutes until fully cooked and flaky. If using pre-cooked or leftover salmon, you can skip this step and simply flake it with a fork. Once flaked, transfer it to a bowl and mix in spicy mayo, cream cheese, a touch of soy sauce or coconut aminos, and finely chopped green onions. If you prefer a little heat, a small amount of sriracha or chili flakes can be added for an extra kick. Stir everything until well combined but still slightly chunky—you don’t want a completely smooth paste.
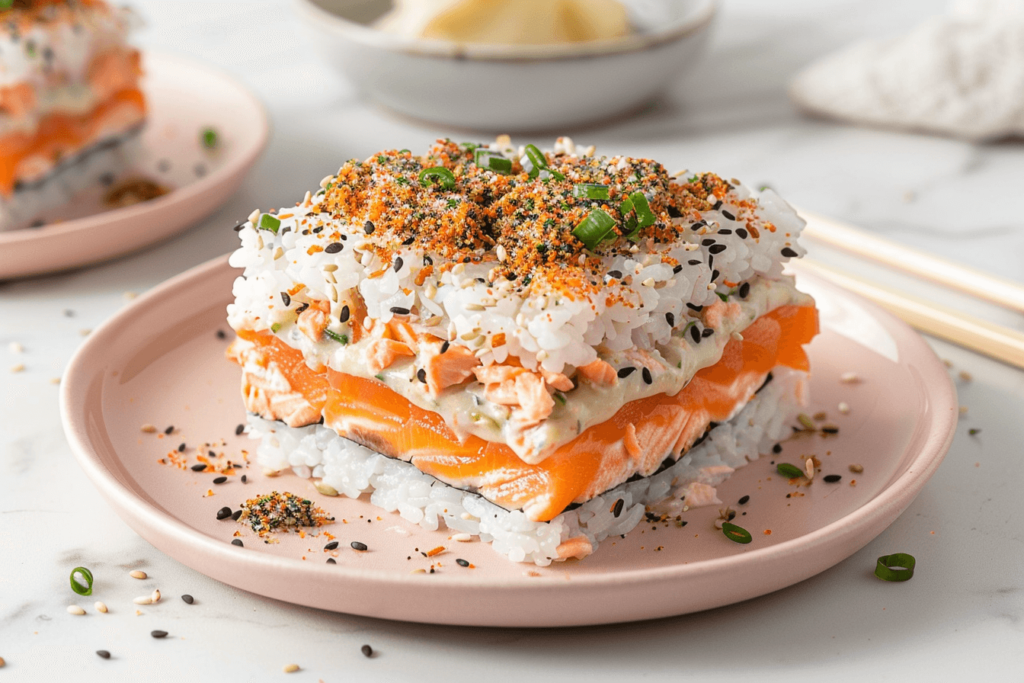
Step 3: Assembling the Sushi Bake
Lightly grease a 9×9-inch baking dish, then spread the seasoned sushi rice evenly across the bottom, pressing it down gently to create a firm base. Next, sprinkle a generous amount of furikake seasoning over the rice to add depth of flavor. Once the rice layer is set, spread the creamy salmon mixture over the top, ensuring it’s evenly distributed. For extra richness, drizzle a little extra spicy mayo over the surface before baking.
Step 4: Baking to Perfection
Preheat the oven to 400°F (200°C) and bake the dish for 10-12 minutes, just long enough to warm
everything through and allow the flavors to meld beautifully. If you love a crispy, slightly caramelized top, switch the oven to broil for the last 2 minutes—just keep a close eye to prevent burning.
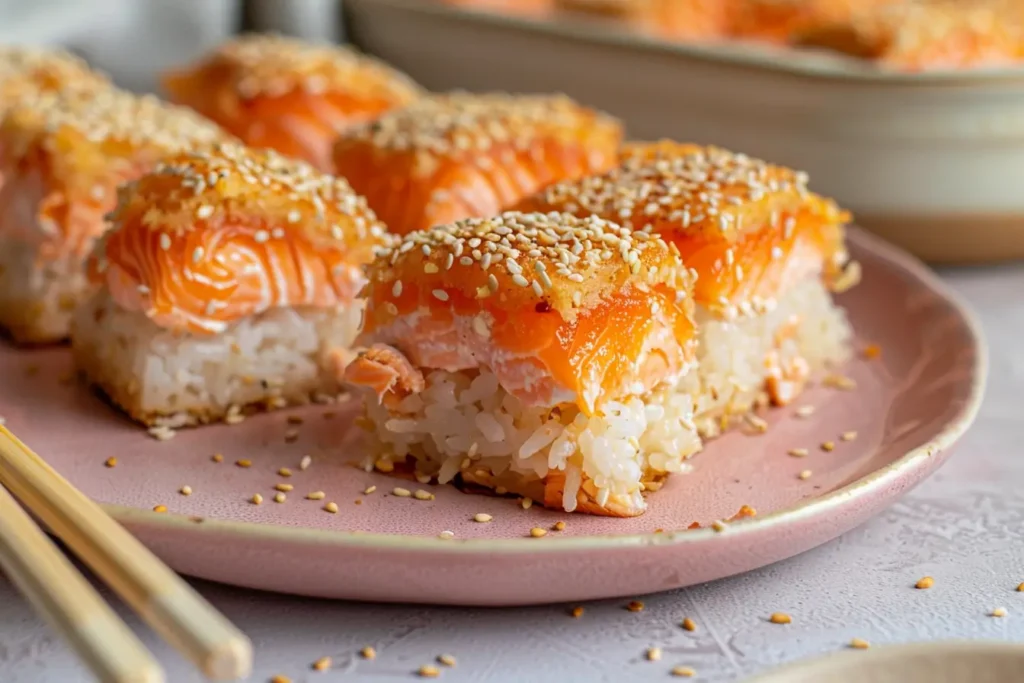
Step 5: Final Touches and Serving
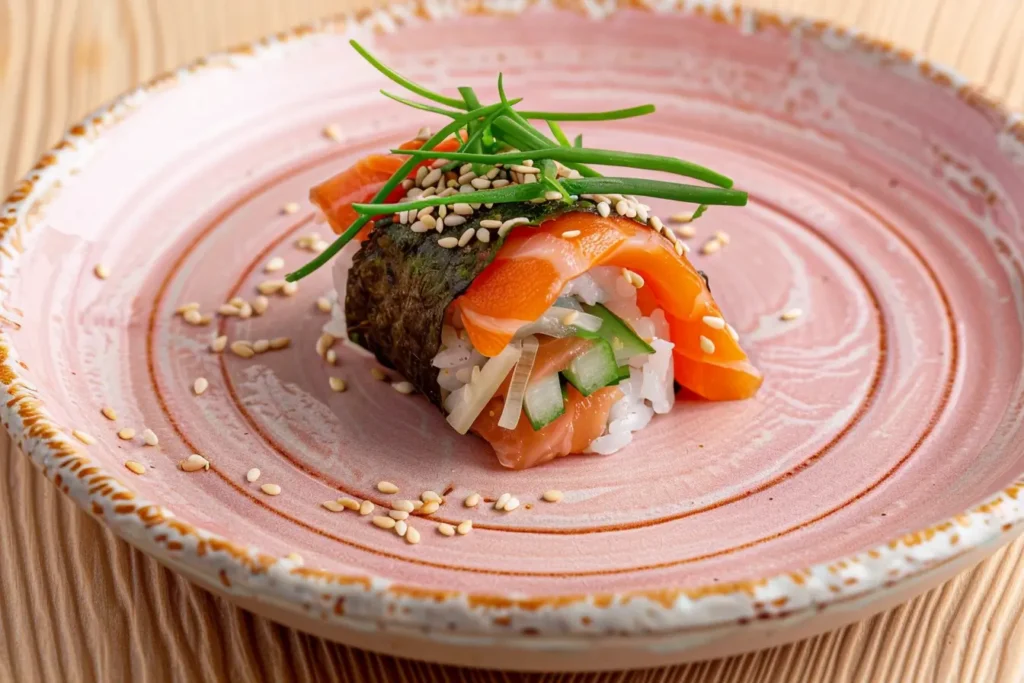
Once out of the oven, let the sushi bake cool for a few minutes before garnishing with more furikake, fresh green onions, and a sprinkle of sesame seeds. To serve, use a spoon to scoop portions onto sheets of nori, folding them into bite-sized wraps for an authentic sushi experience. The contrast of the warm, creamy filling with the crisp seaweed is what makes this dish so special.
🔥 And that’s it! Your Salmon Sushi Bake is now ready to enjoy. If you’d like a printable version of the ingredients and proportions, check out the easy-to-use Recipe Schema at the end. Now, let’s move on to some extra pro tips, serving ideas, and storage solutions! 🍣
Additional Tips & More – How to Get the Best Salmon Sushi Bake Every Time
Once you’ve made your Salmon Sushi Bake, you’ll want to make sure it’s always perfect. Whether you’re looking for fresh ways to serve it, tips to store leftovers, or ideas to customize the recipe, this section has everything you need to elevate the dish.
Perfect Pairings & Side Dishes
To complement the creamy, spicy flavors of Salmon Sushi Bake, pairing it with the right side dishes can really round out the meal. Here are a few options:
- Miso Soup – The rich, salty flavors of miso soup pair wonderfully with the sushi bake’s creamy texture.
- Cucumber Salad – A refreshing, crunchy side salad with a tangy dressing balances the richness of the bake.
- Seaweed Salad – A light, umami-packed salad to stay within the sushi theme.
These sides not only pair perfectly but also offer a contrast of textures and flavors, making your meal feel like a complete sushi feast.
For even more sushi meal ideas, you can check out this AllRecipes.com guide to sushi dishes for more ways to enjoy and serve this sushi-inspired dish!
How to Store & Reheat Leftovers
We all know that leftovers can be a lifesaver, and the Salmon Sushi Bake stores beautifully for later enjoyment.
Storing Leftovers:
✔ Keep your sushi bake in an airtight container and refrigerate for up to 3 days. For long-term storage, you can freeze portions for up to a month. Just wrap it tightly in plastic wrap and store it in a freezer-safe bag.
Reheating:
✔ Microwave: Reheat in short intervals (30 seconds at a time) to avoid drying out the dish.
✔ Oven: Reheat at 350°F (175°C) for 10-12 minutes.
✔ Air Fryer: For a crispy texture, reheat at 350°F for about 5 minutes.
Creative Serving Ideas
There’s no limit to how you can serve Salmon Sushi Bake—here are a few fun ideas to keep things interesting:
✔ Sushi Hand Rolls: Instead of serving the bake in a dish, scoop the warm filling onto nori sheets and roll them into hand rolls.
✔ Over Rice Bowls: Serve the bake over a bowl of steamed rice for a hearty, deconstructed sushi experience.
✔ On Toast: Spread a little avocado on toasted sourdough, then top with a scoop of the bake for an exciting twist.
Not only will these presentation ideas keep your meals fresh, but they also allow you to get a bit creative with how you enjoy the dish!
Frequently Asked Questions & Recipe Schema
Looking for more delicious recipes? If you love hearty meals, check out our Main Dishes collection—perfect for family dinners or special occasions. Or, if you’re craving something sweet, browse our Snacks, Desserts & Bites section for tasty treats. There’s always something new and exciting to cook!
Q1: What makes Salmon Sushi Bake different from traditional sushi?
A: Unlike traditional sushi, which involves raw fish and individually rolled pieces, Salmon Sushi Bake combines all the familiar sushi flavors into a warm, layered casserole, making it easier and more approachable to prepare at home.
Q2: Can I make Salmon Sushi Bake ahead of time?
A: Yes! You can prep everything in advance, store it in the fridge, and bake it just before serving. This is a great time-saver for busy days or when entertaining guests.
Q3: Can I substitute the salmon with other types of fish?
A: Absolutely! While salmon is the star of this dish, you can easily swap it out for tuna, shrimp, or even imitation crab for different flavor profiles.
Q4: How can I make this recipe dairy-free?
A: To make Salmon Sushi Bake dairy-free, simply substitute the cream cheese with mashed avocado or vegan cream cheese for the creamy texture.
Q5: How do I store and reheat Salmon Sushi Bake?
A: Store any leftovers in an airtight container in the fridge for up to 3 days. To reheat, warm in the oven at 350°F for 10-12 minutes or use the microwave for shorter intervals.
Q6: What can I serve with Salmon Sushi Bake?
A: Pair your sushi bake with sides like miso soup, cucumber salad, or edamame. For a twist, you could also serve it over steamed rice or in lettuce wraps.
Salmon Sushi Bake
- Total Time: 35-40 minutes
- Yield: 6 servings 1x
Description
A warm, creamy, and easy-to-make version of sushi, layered and baked to perfection. Perfect for family dinners or gatherings!
Ingredients
- For the Sushi Rice:
- 2 cups short-grain sushi rice
- 2 ½ cups water
- ¼ cup rice vinegar
- 1 tbsp sugar
- 1 tsp salt
For the Salmon Mixture:
- 1 lb cooked salmon (baked or canned, flaked)
- ½ cup Japanese mayonnaise (Kewpie recommended)
- 1 ½ tbsp sriracha (adjust for spice level)
- 1 tsp soy sauce
- 1 tsp sesame oil
For Assembly:
- 2 sheets nori (crushed)
- 2 tbsp furikake seasoning
- 1 avocado, sliced (optional)
- 2 green onions, finely chopped
- Extra mayo & sriracha for drizzling
Instructions
- Cook sushi rice as directed and season with vinegar, sugar, and salt.
- Bake the salmon until cooked, then flake it and mix with mayonnaise, sriracha, soy sauce, and sesame oil.
- Grease a baking dish and layer sushi rice at the bottom. Top with furikake, then add the salmon mixture.
- Bake at 400°F for 10-12 minutes and broil for 2 minutes for a crispy top.
- Garnish with additional furikake, green onions, and sesame seeds. Serve warm with nori sheets.
Notes
Let the bake cool slightly before serving for the best texture.
- Prep Time: 20 minutes
- Cook Time: 15-20 minutes
- Cuisine: Japanese-inspired
Nutrition
- Serving Size: 1/6 of the recipe
- Calories: ~350 per serving
- Sugar: ~3g
- Fat: ~18g
- Carbohydrates: ~32g
- Fiber: ~2g
- Protein: ~22g
- Cholesterol: ~45mg
📌 Tried this recipe? Snap a photo and tag me on Instagram @FridayRecipes—I love seeing your creations! 😊